Build up of the first PCB sample. With new technique (at least for me) via hot air.
Preparations for the solder printing.
I setup a frame with unused PCBs. This is important for printing so the PCB can't move. On the left you can see the stencil solder mask.
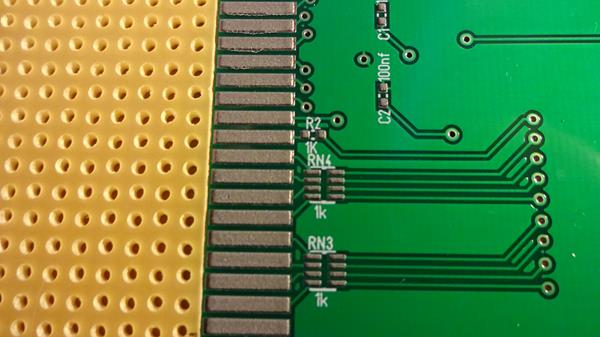
Next step is to place the stencil over the PCB so the pads are fitting 100%
Now i print the soldering paste to the PCB. The gray is the soldering past on the left you can see the tool to print.

I'm impressed the first soldering paste print worked very well.
Now it's time to place the components to the PCB. Unforunately i had quite a bit of coffee today and the placement wasn't that easy ;) Nothing is soldered yet the soldering paste sticks the components to the pcb.
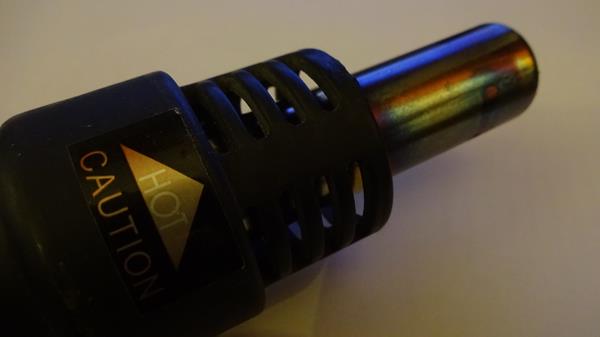
Time for soldering ! It's a hot air station which is able to output hot air. You can select how much air is outputted and how hot. Important here is not to use too much air otherwise the components are blown away and not to hot this will damage the PCB.
I did some test runs before to find the correct setup.
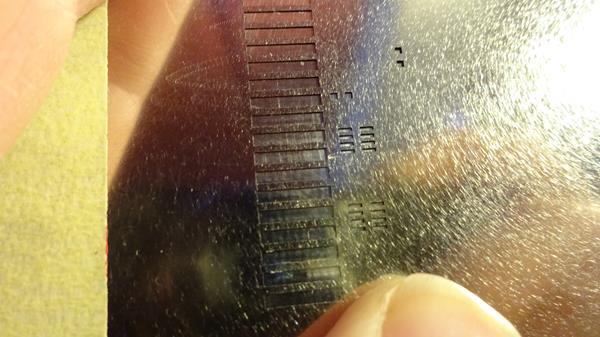
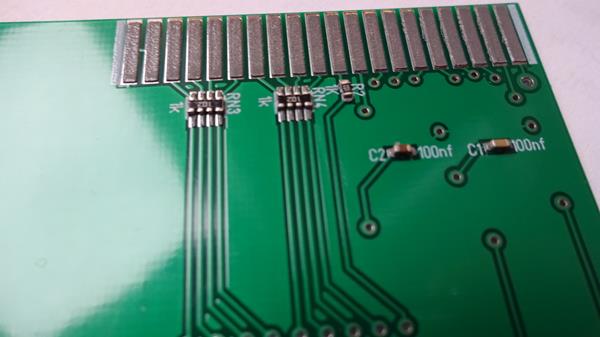
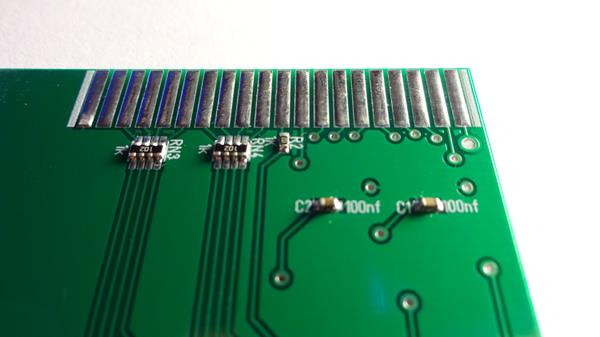
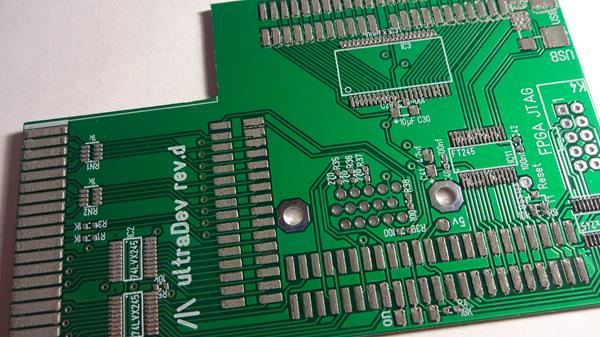
This is how it looks like after soldering. You do not solder every pin you just move the hot air over the pcb and the pcb is soldered.
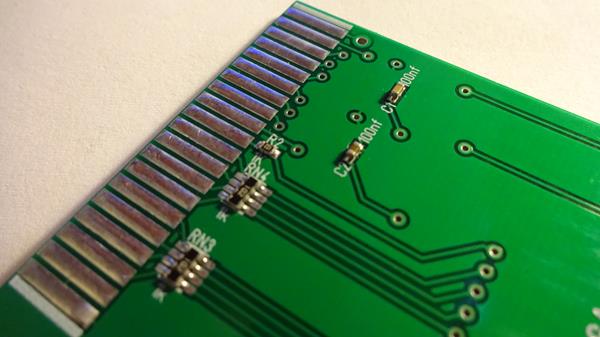
I'm impressed this is fun the and the result looks pretty cool. I expected it would be too less soldering paste to solder since the stencil mask is only 0,1mm but seems to the enough.
Next is to print the soldering paste to the upper side of the PCB. No perfect print but i recognised this is not real problem. The soldering paste was too cold and it was hard to print.
Again place the components. I expected placing the ics is alot harder but in the end it worked out very well even with too much coffee ;)
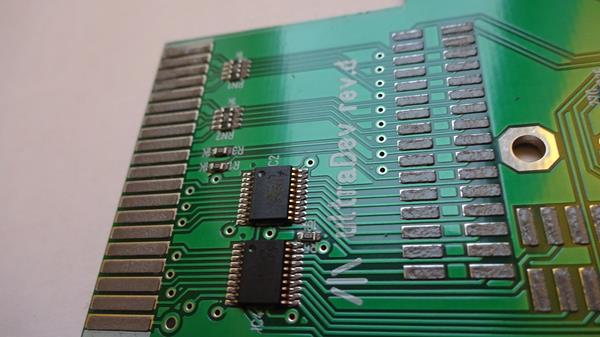
After a bit of soldering the end result looks like this.
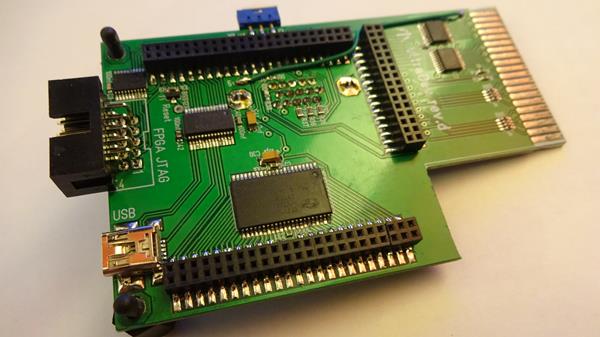
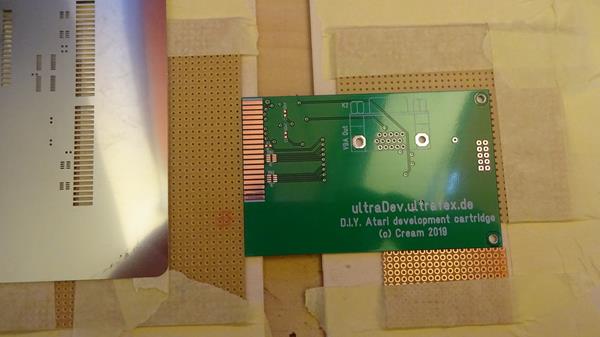
Lower side. As you can see i placed the VGA connector on the lower side now. Initially i planned to do a connector on the side and do a cable with the VGA connector. But doing the cable is quite a bit of work and stressy and luckily the height under the PCB was enough.

Another view... almost sharp ;) But ic solder joints are looking pretty cool and almost like professional made in a factory. Well in a factory they do it the same ok they use a oven for soldering but anyway.
The most exciting moment is which? Yeah check out if it works ;)
And it worked without any change. Even all features are working with the PCB revision means this is the final one. yay
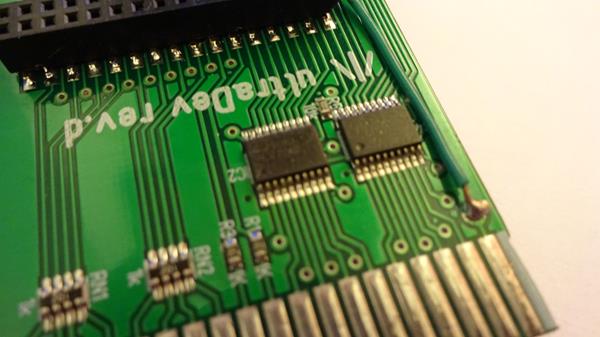
And besides for the first time using this hot air technique it worked unbelievable good. I think i'll use this for my future projects. This saves so much time and less error-prone during soldering hm and in the end the soldering result looks almost perfect...
I'm really impressed.
I setup a frame with unused PCBs. This is important for printing so the PCB can't move. On the left you can see the stencil solder mask.
Next step is to place the stencil over the PCB so the pads are fitting 100%
Now i print the soldering paste to the PCB. The gray is the soldering past on the left you can see the tool to print.
I'm impressed the first soldering paste print worked very well.
Now it's time to place the components to the PCB. Unforunately i had quite a bit of coffee today and the placement wasn't that easy ;) Nothing is soldered yet the soldering paste sticks the components to the pcb.
Time for soldering ! It's a hot air station which is able to output hot air. You can select how much air is outputted and how hot. Important here is not to use too much air otherwise the components are blown away and not to hot this will damage the PCB.
I did some test runs before to find the correct setup.
This is how it looks like after soldering. You do not solder every pin you just move the hot air over the pcb and the pcb is soldered.
I'm impressed this is fun the and the result looks pretty cool. I expected it would be too less soldering paste to solder since the stencil mask is only 0,1mm but seems to the enough.
Next is to print the soldering paste to the upper side of the PCB. No perfect print but i recognised this is not real problem. The soldering paste was too cold and it was hard to print.
Again place the components. I expected placing the ics is alot harder but in the end it worked out very well even with too much coffee ;)
After a bit of soldering the end result looks like this.
Lower side. As you can see i placed the VGA connector on the lower side now. Initially i planned to do a connector on the side and do a cable with the VGA connector. But doing the cable is quite a bit of work and stressy and luckily the height under the PCB was enough.
Another view... almost sharp ;) But ic solder joints are looking pretty cool and almost like professional made in a factory. Well in a factory they do it the same ok they use a oven for soldering but anyway.
The most exciting moment is which? Yeah check out if it works ;)
And it worked without any change. Even all features are working with the PCB revision means this is the final one. yay
And besides for the first time using this hot air technique it worked unbelievable good. I think i'll use this for my future projects. This saves so much time and less error-prone during soldering hm and in the end the soldering result looks almost perfect...
I'm really impressed.